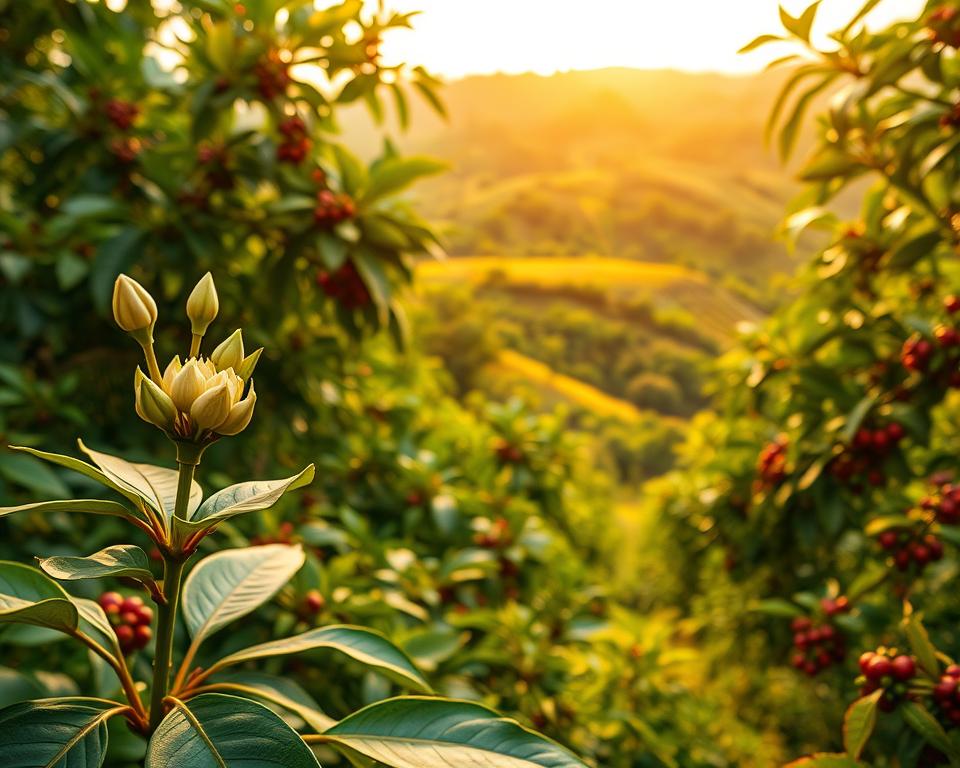
Growing coffee at home transforms a simple morning ritual into a deeply rewarding journey. It begins with seedlings in shaded nurseries, where they receive careful nurturing until they’re ready for their permanent home. The journey to the first harvest takes 3–4 years, but it allows you to control every aspect of the process. This includes the quality of the soil and the roasting of the beans.
This comprehensive guide will walk you through the process of growing your own coffee beans. You’ll learn about selecting the right varieties, such as Arabica or Robusta. It will also cover mastering the harvesting and processing methods.
Key Takeaways
- Coffee seedlings need 3–4 years to produce cherries.
- Two main harvesting methods: strip picking and selective picking.
- Arbica beans dominate 70% of global coffee supply.
- Each coffee tree yields about one pound of roasted beans yearly.
- Growing coffee at home requires consistent moisture and 60–70% humidity.
Introduction to Home Coffee Cultivation
Home coffee cultivation involves growing coffee plants in your own space, whether indoors or outdoors. This hobby allows you to enjoy fresh beans and learn about plant care. Indoor coffee plant care focuses on replicating a plant’s natural needs in a controlled environment.
What is Home Coffee Cultivation?
It’s about nurturing coffee plants from seed to harvest. Unlike large farms, home growers focus on small-scale production. For those in colder climates, indoor coffee plant care becomes key to success. Even apartment dwellers can manage with the right techniques.
Benefits of Growing Your Own Coffee
- Enjoy freshly roasted beans with no pesticides
- Control every step of the growing process
- Turn a balcony or windowsill into a mini coffee farm
One grower shared,
In 2018, I harvested 1 cup of beans. After mastering indoor coffee plant care, I now get 4–5 cups yearly!
Common Myths About Coffee Cultivation
| Myth | Reality |
|---|---|
| Needs constant tropical weather | Indoor setups can mimic ideal conditions |
| Home-grown coffee tastes bitter | With proper indoor coffee plant care, flavors rival store-bought beans |
| Requires vast land | A single plant in a pot can thrive |
Success depends on consistent watering, light, and temperature—key parts of indoor coffee plant care. Start small and learn as you go!
Choosing the Right Coffee Variety
When selecting a coffee plant, it’s crucial to consider your climate and available space. Home gardens often feature Arabica and Robusta varieties. Each variety has specific requirements that impact coffee plant maintenance over time.
Arabica vs. Robusta: Which One to Choose?
| Aspect | Arabica | Robusta |
|---|---|---|
| Climate | Cooler temperatures (60–70°F) | Warmer, humid climates |
| Flavor Profile | Smooth, aromatic | Bold, high caffeine |
| Height | Up to 12 ft (3.7m) | Up to 32 ft (9.8m) |
| Maintenance | Requires careful coffee plant maintenance | Hardier, easier to grow |
Climate Considerations for Different Varieties
- Arabica prefers temperatures between 60–70°F (15–21°C) and humidity levels of 60–70%.
- Robusta can handle warmer temperatures (70–85°F/21–29°C) and lower humidity.
- Growers indoors can use grow lights and misters to replicate these conditions.
Where to Source Coffee Seeds or Seedlings
Opt for trusted sources for your coffee plants. Seek out:
- Specialty nurseries like Rare Seeds Inc. or Tropical Plant Co.
- Online stores such as PlantPass or CoffeeDirect
- Local botanical gardens or agricultural extensions
Ensure seedlings have disease-free leaves and robust stems before purchase.
Preparing Your Growing Space
Creating the right environment is crucial for coffee plants to thrive. Follow these home coffee plantation tips for success. Begin by choosing a spot that offers the right balance of light, temperature, and space.
Indoor vs. Outdoor Coffee Cultivation
Decide based on your climate and available space:
- Indoor: Perfect for areas with cold winters. Opt for south-facing windows for sunlight. Keep temperatures between 60–70°F and humidity above 50%.
- Outdoor: Suitable for USDA zones 10–11. Ensure partial shade in hot climates to prevent leaf scorching.
Soil Requirements for Coffee Plants
Soil needs to drain well and stay moist but not waterlogged. Mix:
| Aspect | Details |
|---|---|
| pH Level | 6.0–6.5 (slightly acidic) |
| Composition | Peat moss, perlite, and compost |
| Drainage | Add gravel to pot bases for airflow |
Container Gardening for Coffee
Containers should be at least 12–14 inches wide to support root growth. Terracotta pots are best for their breathability. Repot every 2–3 years to prevent rootbound issues. For hydroponic setups, ensure the nutrient solution mimics soil conditions.
Tip: Position containers where plants receive 6–8 hours of indirect light daily.
Planting Your Coffee Seeds or Seedlings
Starting your coffee plants right sets the stage for lush growth. Whether you’re working with seeds or nursery-bought seedlings, precision is key for cultivating coffee beans indoors. Follow these steps to give your plants the best chance to thrive.
- Soak green coffee seeds in water 24 hours before planting to boost germination.
- Use pots at least 5 gallons in size, filled with organic potting mix or compost-rich soil.
- Maintain soil temperatures between 68–75°F (20–24°C) for optimal growth.
| Planting Method | Seeds | Seedlings |
|---|---|---|
| Germination Time | 2–6 weeks | Immediate growth |
| Planting Depth | 1 inch below soil | Same depth as nursery pot |
| Key Tip | Refrigerate seeds for 2 weeks before planting to break dormancy | Trim roots gently before transplanting |
Spacing and Depth
Space indoor plants 3 feet apart to allow airflow—crucial for preventing mold in cultivating coffee beans indoors. Bury seeds 1 inch deep, ensuring soil stays loose and drains well. Seedlings need pots 12 inches wide to support root systems.
Watering After Planting
Water thoroughly after planting to settle soil, then keep the top 2 inches moist daily. Avoid overwatering—yellow leaves signal overwatering, while dry soil causes wilting. Use a spray bottle to mist leaves weekly for humidity.
Caring for Your Coffee Plants
Maintaining healthy coffee plants requires consistent care routines. Indoor coffee growing techniques aim to mimic tropical conditions. This means adjusting light, water, and nutrients regularly.
Essential Daily Care Tips
Check soil moisture weekly. Water deeply when the top inch of soil feels dry. Make sure pots have drainage holes. Place plants in areas with bright indirect light, such as east or west windows.
Keep humidity above 50% using misting or pebble trays. Aim for daytime temperatures between 65–75°F (18–24°C).
Fertilizing Your Coffee Plants
Feed actively growing plants with a balanced fertilizer like 20-20-20 monthly during spring and summer. Reduce or stop feeding in fall and winter. Below is a guide to fertilizer options:
| Type | Benefits | Usage |
|---|---|---|
| Organic | Slow nutrient release | Monthly compost tea or worm castings |
| Commercial | Quick nutrient boost | Follow label instructions for diluted liquid solutions |
Pruning and Its Importance
Trim plants every 6–8 weeks to encourage bushy growth. Follow these steps:
- Remove dead or yellowing leaves promptly
- Trim leggy stems to 2–3 nodes to encourage branching
- Shape plants to control height (keep under 6ft indoors)
Regular pruning improves airflow and prevents disease.
By balancing these practices, your plant will stay healthy until harvest time. Patience pays off—your first berries may appear in 3–5 years!
Understanding Coffee Plant Growth Stages
Coffee plants have a predictable lifecycle, essential for DIY coffee farming success. According to experts, monitoring these stages is crucial for optimal care. Patience is paramount—plants require 3–4 years before their first harvest.

Seedling Stage: What to Expect
New sprouts develop delicate roots and leaves. It’s important to protect them from frost and overwatering. Leaves start small, growing 6–12 inches in the first year. This phase lasts 6–12 months.
Vegetative Stage: Key Milestones
Branches and foliage expand rapidly. Leaves thicken, and stems strengthen over 1–3 years. Pruning shapes the plant, encouraging upward growth. Soil nutrition is crucial during this stage.
Flowering and Fruit Development
Flowers bloom in clusters after 3–4 years, followed by green cherries. Ripe cherries turn red or yellow, taking 7–11 months to mature. Harvest when cherries are soft and vibrant. Each plant yields ~2,000 cherries annually.
| Stage | Duration | Key Markers |
|---|---|---|
| Seedling | 6–12 months | Leaf emergence, root establishment |
| Vegetative | 1–3 years | Branch growth, leaf maturation |
| Flowering/Fruit | 3–4+ years | Blooms, cherry formation |
Tracking these phases helps time care adjustments. Consistent care during the vegetative stage boosts future yields. Celebrate milestones like first blooms as signs of progress in your DIY coffee farming journey.
Identifying and Managing Pests
Protecting your coffee plants from pests is crucial for a healthy crop. Early detection and action prevent infestations from spoiling your harvest. A study shows that pests like the coffee berry borer can destroy up to 100% of berries without intervention1.
“The coffee berry borer can damage 50–100% of berries on a field if no management measures are taken.”
- Mealybugs: White cotton-like clusters on stems
- Aphids: Leaves curling and yellowing
- Spider mites: Tiny spots and webbing on leaves
- Coffee berry borer: Pinholes in cherries
Organic Pest Control Methods
Here are some eco-friendly strategies:
- Neem oil sprays weekly for mites and scale insects
- Insecticidal soap for soft-bodied pests
- Hang yellow sticky traps to catch flying insects
- Release ladybugs to eat aphids
- Prune infested leaves immediately
When to Seek Professional Help
Seek expert advice if you notice:
- Widespread berry damage from coffee berry borers
- Leaf rust covering over 30% of foliage
- Uncontrolled mealybug infestations
- Plant death within a year (sign of severe infestation)
| Pest | Signs | Actions |
|---|---|---|
| Spider Mites | Yellow speckles | Weekly neem oil treatments |
| Leaf Rust | Orange spots on leaves | Remove infected leaves |
| Berry Borer | Holesy cherries | Install 10 pheromone traps/acre |
Maintaining healthy plants through vigilance ensures a successful home coffee bean harvesting season. Regular inspections and quick action keep your plants thriving year after year.
Harvesting Your Coffee Cherries
Months of nurturing have led to this moment. Harvesting coffee cherries demands patience and precision for quality beans. Seek out cherries that are deep red or purple, firm, and avoid those that are overripe or underripe.
Signs of Ripe Coffee Cherries
Ripe cherries display vibrant colors like ruby-red or gold, depending on the variety. Feel the skin—ripe cherries should resist slight pressure but not feel mushy. Unlike grapes, cherries ripen unevenly, so regular checks every 7–10 days are key. Use a magnifying glass to spot cracks or discoloration that signal overripeness.
Best Practices for Harvesting
Selective picking is ideal for home coffee bean harvesting, ensuring only ripe cherries are collected. Use soft baskets to avoid bruising and wear gloves to protect hands from thorns. For small plants, hand-picking is manageable. Follow these steps:
- Inspect branches weekly to catch ripe cherries early
- Twist cherries gently instead of pulling to avoid damaging stems
- Separate damaged cherries immediately to prevent mold growth
Handling Cherries Post-Harvest
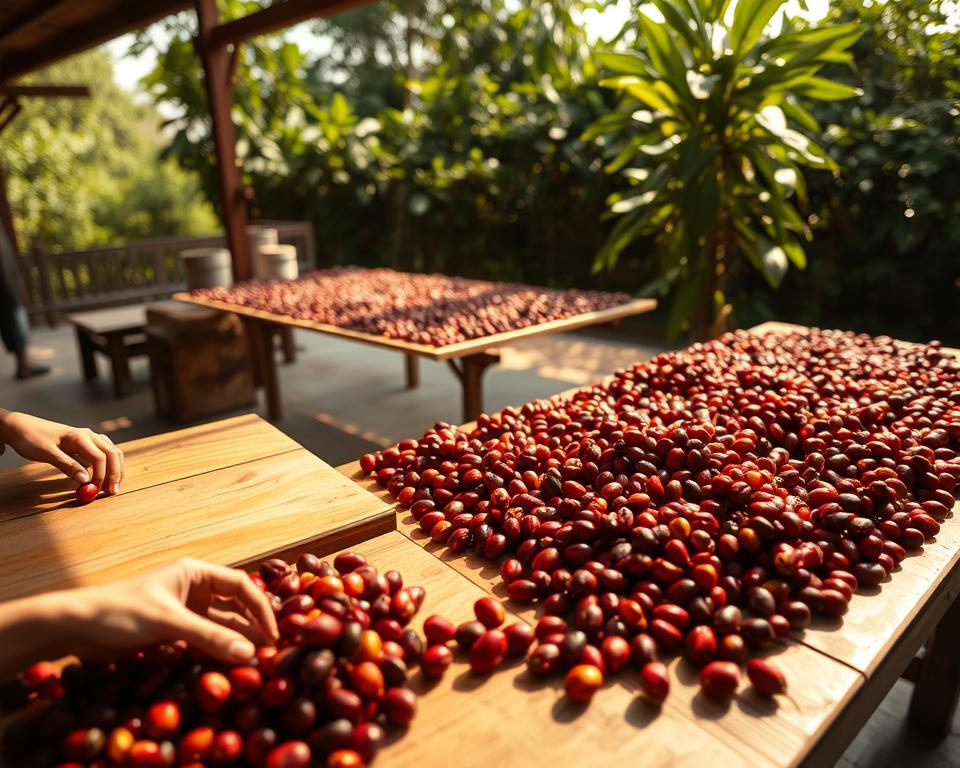
Sort cherries using a water bath: sinkers (ripe beans) settle at the bottom, while floaters (unripe or damaged) stay afloat. Clean cherries thoroughly with a soft brush and let them dry on mesh trays in shaded areas. For detailed steps on turning cherries into beans, explore roasting guides after processing. Store sorted cherries in breathable containers at 60–70°F to maintain freshness.
Processing Coffee Cherries
After harvesting your coffee cherries, the next step in home coffee cultivation is processing. This phase is crucial as it determines the final flavor and quality of your beans. There are three main methods, each with its own steps and outcomes.
Methods of Processing Coffee
- Natural Process: Dry cherries in the sun for 3–6 weeks. This method is used in water-scarce regions like Ethiopia and Yemen. The pulp stays on the beans, adding bold fruity flavors.
- Washed Process: First, remove the pulp, then ferment the beans in water for 18–72 hours. This method is popular in Latin America, creating clean, acidic flavors and reducing labor.
- Honey Process: Leaves mucilage on beans during drying. Costa Rica pioneered this method, with color categories (white, yellow, red, black) indicating mucilage levels. Black honey retains the most flesh, yielding syrupy sweetness.

Importance of Fermentation
Fermentation breaks down sugars, influencing acidity and aroma. For washed coffee, beans soak in water to dissolve pulp. Anaerobic fermentation (sealed tanks) adds bold fruity notes. It’s important to monitor time and temperature to avoid off-flavors.
Drying Your Coffee Beans
Proper drying prevents mold. Natural-processed cherries need daily raking on trays, taking 3–6 weeks. Washed beans dry 60–90 days. Use mesh racks and shaded areas to maintain even moisture—aim for 11% moisture before storage. Experiment with methods like thermal shock (sudden temperature changes) to enhance sweetness.
Each method reflects your climate and goals. Natural processing thrives in dry climates, while washed methods suit water-accessible areas. Your choice will shape whether your coffee tastes bright, fruity, or syrupy—turning your home coffee cultivation efforts into a flavorful success.
Roasting Your Home-Grown Coffee
The final step in your journey of growing coffee at home arrives with roasting. Whether you’ve nurtured Arabica or Liberica beans, this process unlocks their full flavor potential. Start by selecting your method: popcorn poppers cost as little as $20, while purpose-built roasters like the HotTop begin at $250.
Three key roast levels shape taste:
- Light Roast: Reveals floral or fruity notes with higher acidity and caffeine
- Medium Roast: Balanced flavors with hints of nuts or chocolate
- Dark Roast: Bold, smoky profiles with reduced caffeine
Listen for the first crack—like a Twix bar snapping—to know when light roast is achieved. Avoid inhaling smoke during roasting; the CDC warns of diacetyl risks linked to lung disease. Use a fan or mask for safety.
“The first crack signals light roast, but wait until the second crack (like Rice Krispies) for medium roast,” advise experts at Sweet Maria’s, a top supplier of green beans.
Rest beans 24 hours post-roast to release CO2. Home roasting saves 50% compared to store-bought: $6 for 16 oz green beans vs. $16 for 12 oz roasted. Experiment with small batches—8 oz max—to master control. Your efforts turn homegrown beans into a custom brew reflecting your growing coffee at home journey.
Brewing Your Perfect Cup of Coffee
After years of nurturing your coffee plants, the final step in your DIY coffee farming journey is brewing. Every detail from bean to cup matters. Start with a quality burr grinder like the Baratza Encore to ensure even grounds. Water quality impacts taste—use filtered water (e.g., Brita) to avoid harsh flavors. Here’s how to turn your harvest into a masterpiece.
Recommended Brewing Methods
- French Press: Steep 1:15 coffee-to-water ratio at 205°F for 4 minutes.
- Pour-Over: Use a 1:16 ratio, starting with a 30-second bloom.
- Espresso: Aim for a 1:2.5 ratio, extracting 40g of liquid in 25–30 seconds.
Tips for Optimal Flavor Extraction
Measure precisely with a kitchen scale. A 50g dose yields ~750ml of coffee. Grind beans just before brewing—finer grinds for espresso, coarser for French press. Never use distilled water; its mineral absence ruins equipment and flavor.
Experimenting with Different Recipes
Cold brew? Try a 1:6 ratio steeped 12–18 hours. Adjust ratios incrementally (e.g., 1:17 for lighter brews). Track results in a notebook. Share your findings with fellow DIY coffee farming enthusiasts!
Conclusion: Enjoying Your Homegrown Coffee
Cultivating coffee beans indoors transforms a simple seed into a personal narrative. Each step, from growing seedlings under grow lights to enjoying the final brew, connects you to the plant’s journey. This hands-on experience showcases the patience and care behind every cup.
Sharing the Harvest
Invite friends and family to taste your hard work. Host coffee tastings or give roasted beans in labeled jars. A single plant’s yield may be small, but sharing fosters community. Pairing homegrown coffee with pastries offers a sensory delight. Your efforts spark curiosity, encouraging others to try growing their own.
The Full-Bodied Reward
Brewing your own coffee gives you control over every aspect. From picking ripe cherries to mastering roast levels, the process deepens your appreciation for specialty brews. Try different brewing methods like pour-over or French press to bring out unique flavors. Each batch is a reflection of your choices, making every sip a personal triumph.
A Lifelong Journey
Coffee plants require consistent care to thrive. Monitor soil pH and humidity even after harvest. Over time, you’ll refine pruning techniques and tackle pests organically. Remember, Arabica varieties take 3–4 years to mature, but the wait is worth it. Growing coffee is a journey of learning and renewal, enriching both your space and spirit.
FAQ
What is home coffee cultivation?
How long does it take to grow coffee at home?
What are the benefits of growing my own coffee?
Is it true that coffee can only grow in tropical climates?
Which coffee variety should I choose for home cultivation?
Where can I buy coffee seeds or seedlings?
What are the ideal soil requirements for coffee plants?
What are the best practices for planting coffee seeds?
How often should I water my coffee plants?
How can I keep my coffee plants healthy?
How do I identify and manage pests that affect coffee plants?
What signs indicate that my coffee cherries are ripe for harvesting?
What methods can I use to process coffee cherries after harvesting?
How can I roast my home-grown coffee beans?
What are some tips for brewing the perfect cup of coffee with my homegrown beans?

Paul Allen is a writer at WyNeeds, a website dedicated to the world of coffee. Passionate about aromas and flavors, he explores everything from the best brewing methods to fascinating insights about coffee beans and industry trends. His goal is to provide readers with engaging and informative content, helping both beginners and coffee enthusiasts deepen their knowledge of the world’s most beloved beverage.

